Tuesday Pick Me Up {Freebies}


- Flowers and greenery. Katie likes to stay local when possible...in Evansville check out the farmers markets, Emerald Designs, Darnell’s Flower School, and Timberview Flower Farm. You can also grab flowers out of your yard or at your local grocery store. Make it easy so it will be more fun!
- A vase or vessel. Katie likes to use vessels that have an opening about the size of her fist for most table arrangements
- Chicken wire. You will need a 4in x 4in square to do the above pictured arrangement. Katie buys a roll of chicken wire from Home Depot for $12ish dollars and cuts from it throughout the year.
- Scissors or cutters.
- Flower food (optional - order from Amazon!)
- Ribbon (optional)
Step 2 - Clean Your Flowers + Prep Your Vase
Clean your flowers by taking ALL the leaves off that will be underwater. Leaves left underwater dirty it up and make your flowers die faster!
Fill your vase with room temperature water and add the flower food per the packet recipe (Don’t just pour the whole packet in, it may be too much/too little!)
Step 3 - Arrange
Start by balling up your chicken wire square and submerging it in the water. This wire gives your flowers and greenery something to stick to, and gives YOU control over your arrangement, not gravity!
Begin by cutting pieces of greenery and placing them around the bowl. Quick tip: arrange on a lazy susan to make turning a breeze! If you need to cut back some of your greenery once it is placed, it is okay! You want at least a third to one half of your arrangement to be greens.
Once you have greenery that you like, begin adding flowers. Have fun with it! Here are my two design strategies that WORK every time!
- Arrange light to dark - start by adding your lightest flowers in sets of 3, and then filling in. This makes arrangements feel fuller and gives you better control over the color dispursement.
- Do NOT cut flowers the same length. Cut them individually as you place at DIFFERENT heights to create a more textured look. Texture is what makes arrangements look expensive!!
Add a ribbon to finish the look.
Step 4 - Flower Care + Extending Life
Change your water FULLY every 1-2 days. Your flowers are sitting in a bath of their own bacteria. By flushing it out and giving them fresh water, you are also giving them fresh life.
The middle of your table is a great place for flowers. Try to avoid a bright windowsill (too much sun) or by an air vent (too much draft). Flowers can be fickle, they like things just the way they like them!
Try it out and share your tablescape with us using the hashtag #merrymint!

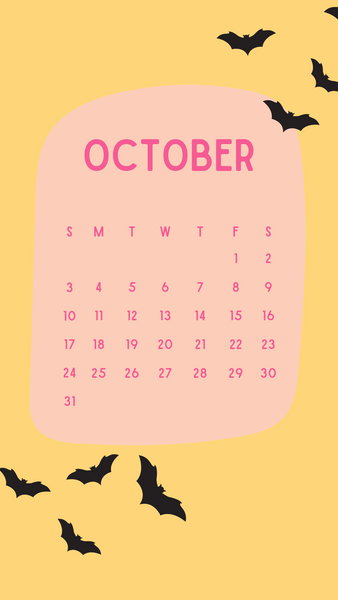
Save the photo wallpaper below to your camera roll for a spooky good phone background!

We hope you enjoy these 2 freebies!! Shop for more spooky good decor RIGHT NOW at shopmerrymint.com!!


Leave a comment